

Trello Documentation
Portal Access Management
Managing access to your User Portal ensures that the right people can easily submit, view, and track their Trello requests. Whether you want to make your portal completely public, restrict it to your internal team, or allow specific clients, configuring your access settings takes just a few clicks.
Step-by-Step Guide
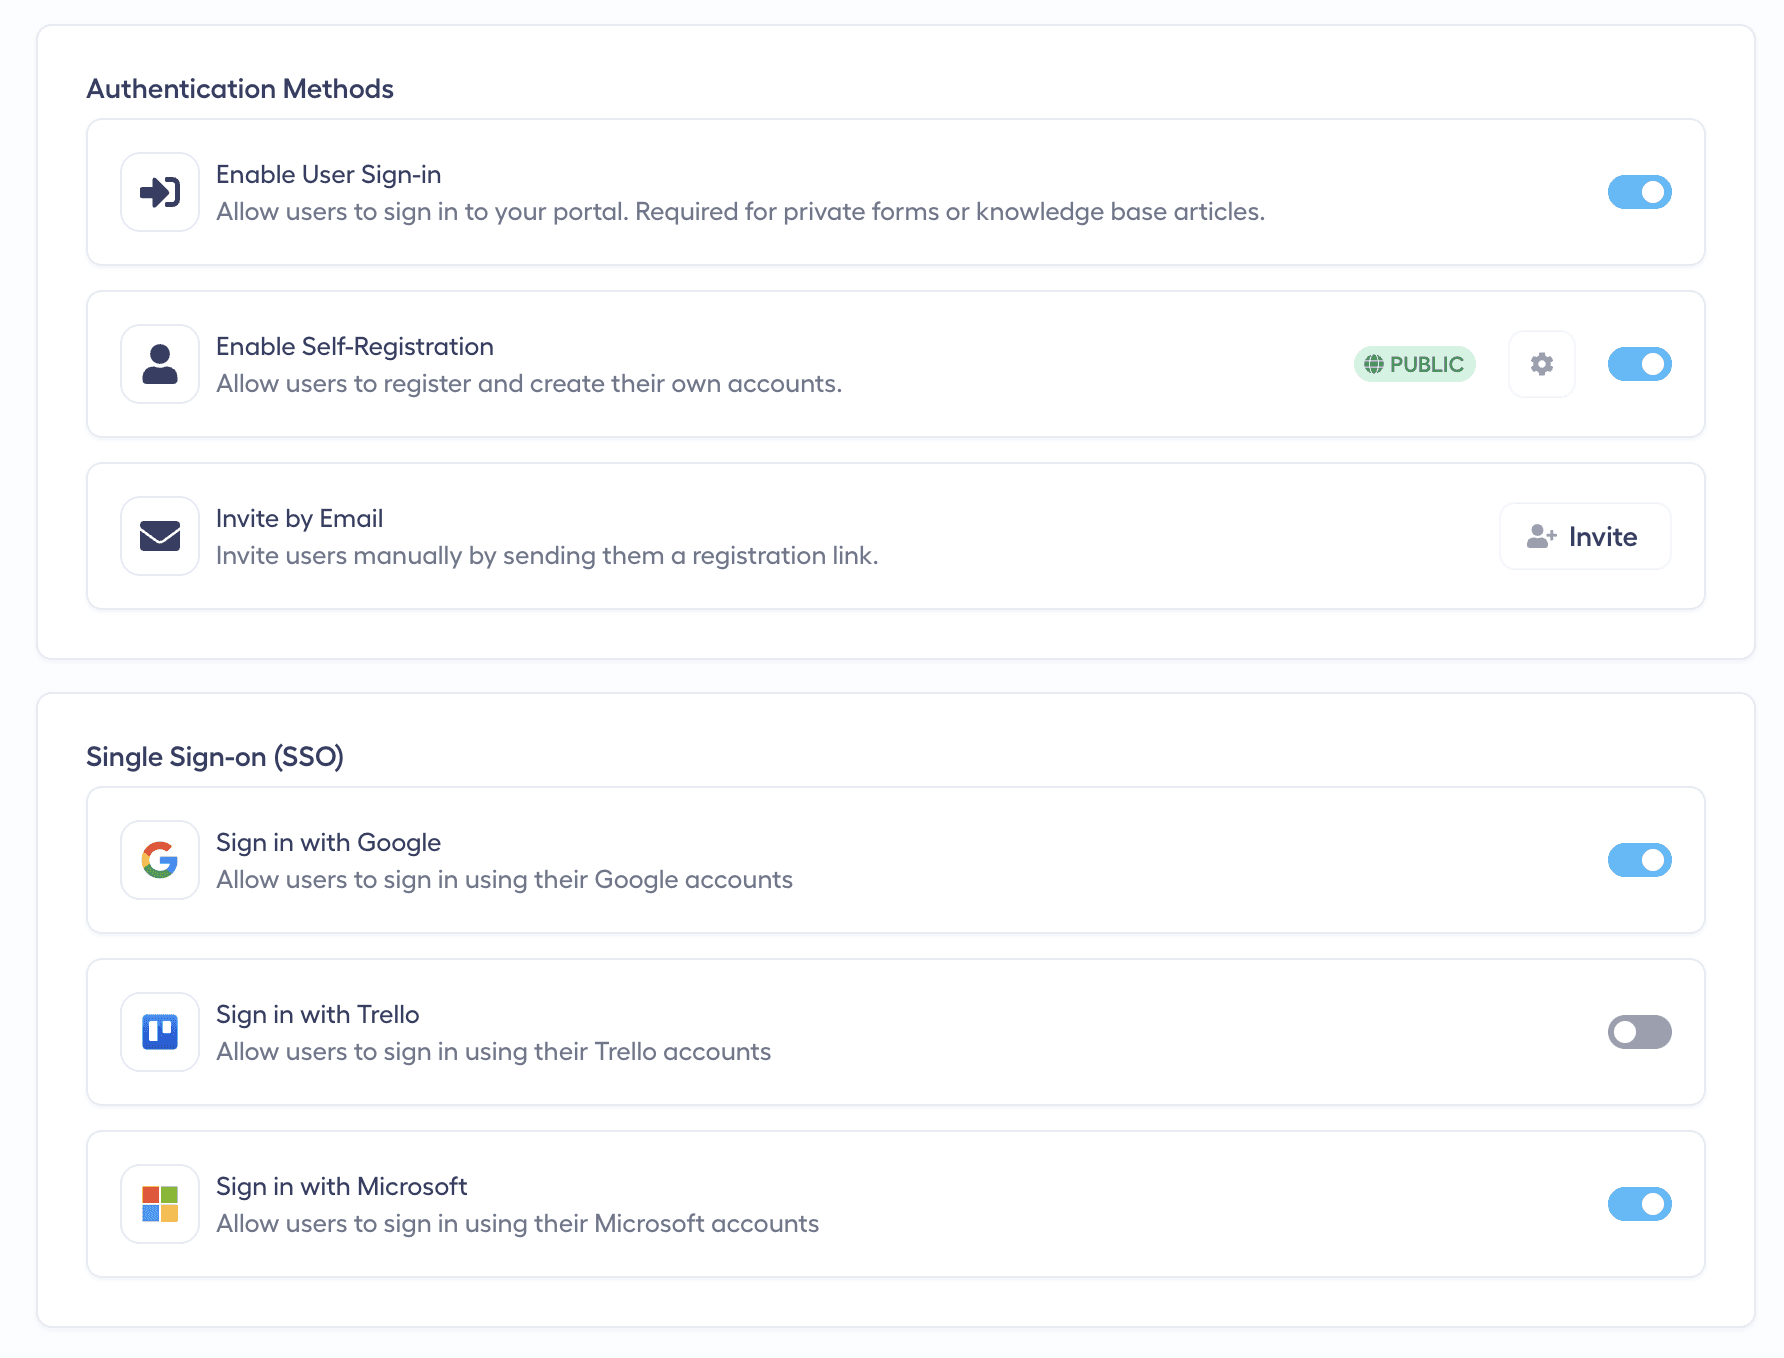
1. Navigate to Access Settings
Open your admin dashboard and look at the left menu.
Click on the Access page located under the User Portal section.
2. Configure Sign-In and Self-Registration
By default, anyone can register and sign in to your User Portal. You can easily adjust this based on your workflow:
Disable Sign-In: If you only want users to submit forms (which create Trello cards) without tracking them later, you can disable sign-in. Once disabled, the Sign In option will no longer appear in the top right corner of your User Portal.
Enable Self-Registration: Toggle this feature on so anyone visiting your portal can create an account and sign up independently. Let’s check it in the User Portal to verify the changes!
3. Enable Quick Login (Google & Microsoft)
To make the onboarding process faster and easier for your users:
Enable Sign-up and Sign-in with Google and Microsoft.
Simply refresh your live User Portal page to see these new Single Sign-On (SSO) buttons appear on the login screen.
4. Restrict Registration by Domain
If you want to keep your portal private to your company or specific clients, you can change the default "anyone can register" setting:
Choose to restrict registration to users with specific email domains.
Enter your approved domains. Now, only email addresses with this specific domain will be able to register for your portal and interact with your Trello workflow.
5. Invite Users Manually
Alternatively, you can use the Invite button located on the Access page to manually invite specific users to register for your portal via email.
Any other questions? Get in touch