Trello is a web-based project management tool that allows users to create boards, lists, and cards. You may think of it as a digital sticky note board used in Kanban-based project management systems.
Boards are the top level of organization and cards acting as individual items with tasks, comments, members and due dates. Cards may include attachments such as images, documents, and links from other team members.
Trello Basics:
Before diving into Trello for project management, you’ll need to familiarize yourself with some terms. Here’s our quick guide to Trello basics to help you learn how to use Trello.
Trello Workspace is an organizational overview. Trello Workspace includes settings, permissions, boards, lists, cards, labels, checklists, and power-ups, enabling teams to manage projects more effectively.
Trello Board is a visual workspace where users can track the progress of tasks and organize the project workflow. It consists of lists containing cards with detailed information about each task. Users can customize their boards by creating custom labels and checklists within cards.
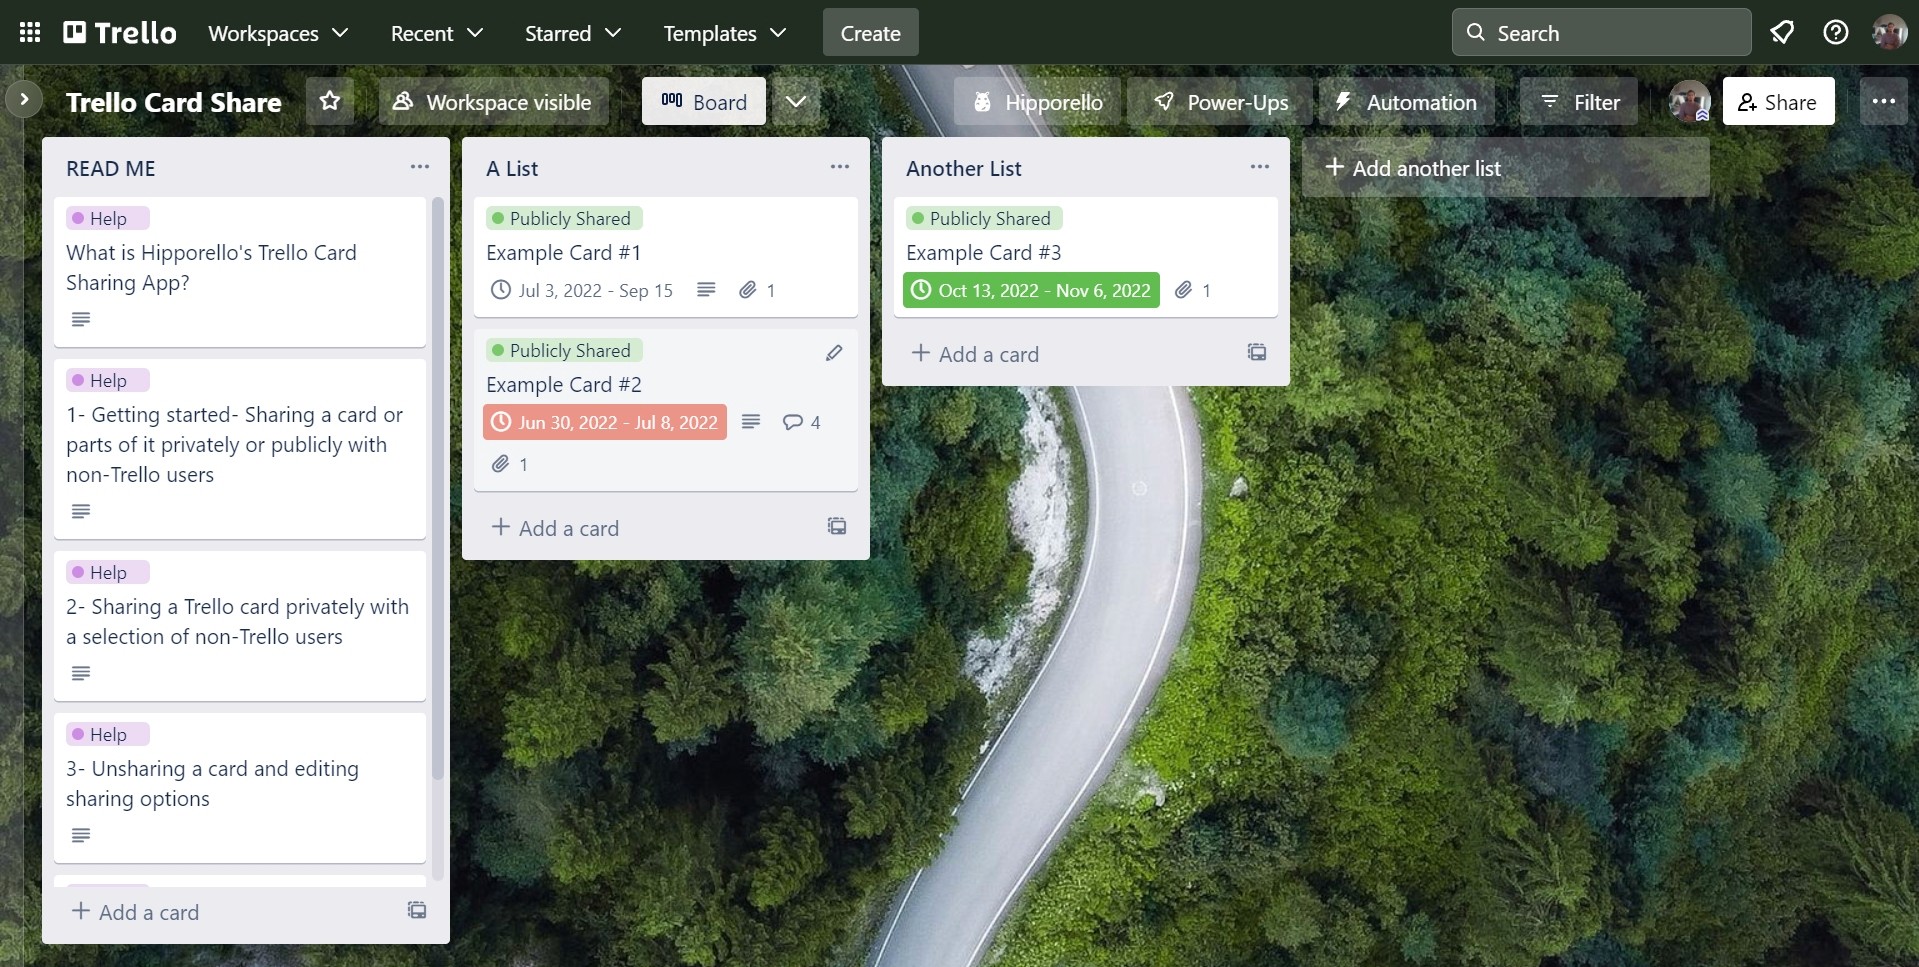
Trello List is a board column containing cards related to the same project or topic. A list represents a particular stage of the workflow, such as "To Do," "Doing," "Done," or any other custom label created by users.
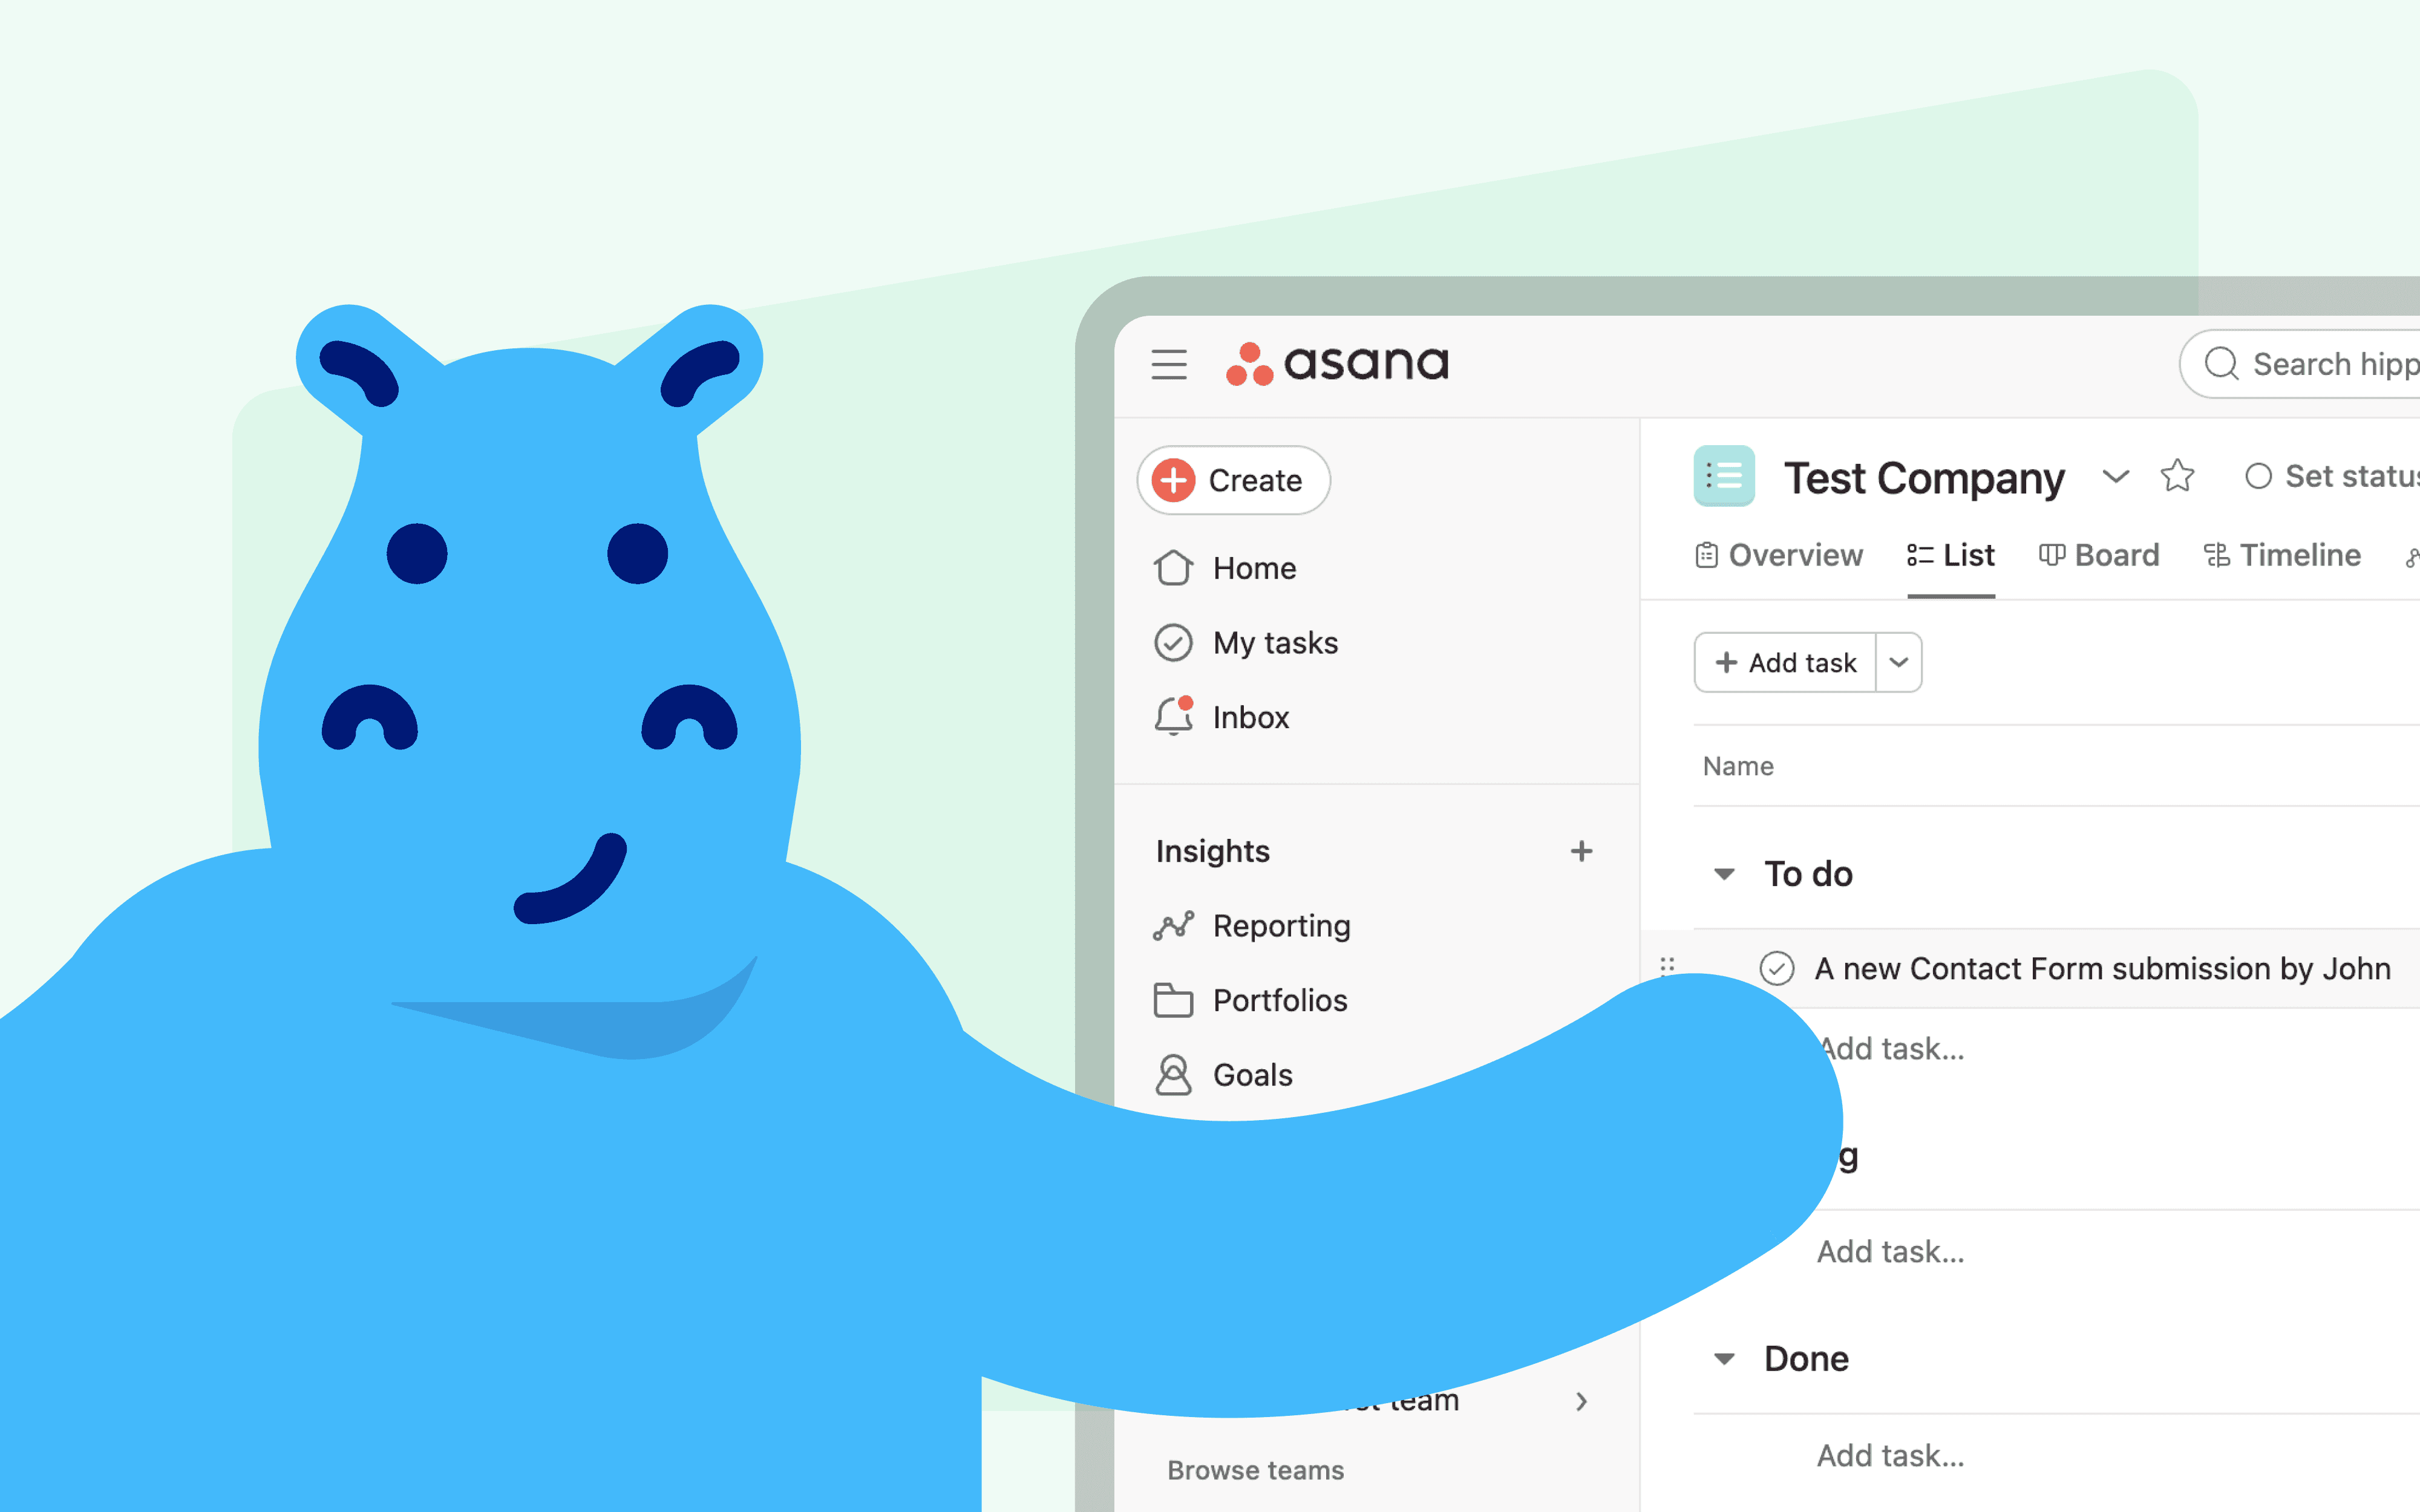
Trello Cards are individual tasks or items associated with a list on the board. Cards are movable across lists and contain detailed editable description fields with comments from collaborators, attachments, deadlines, and more.
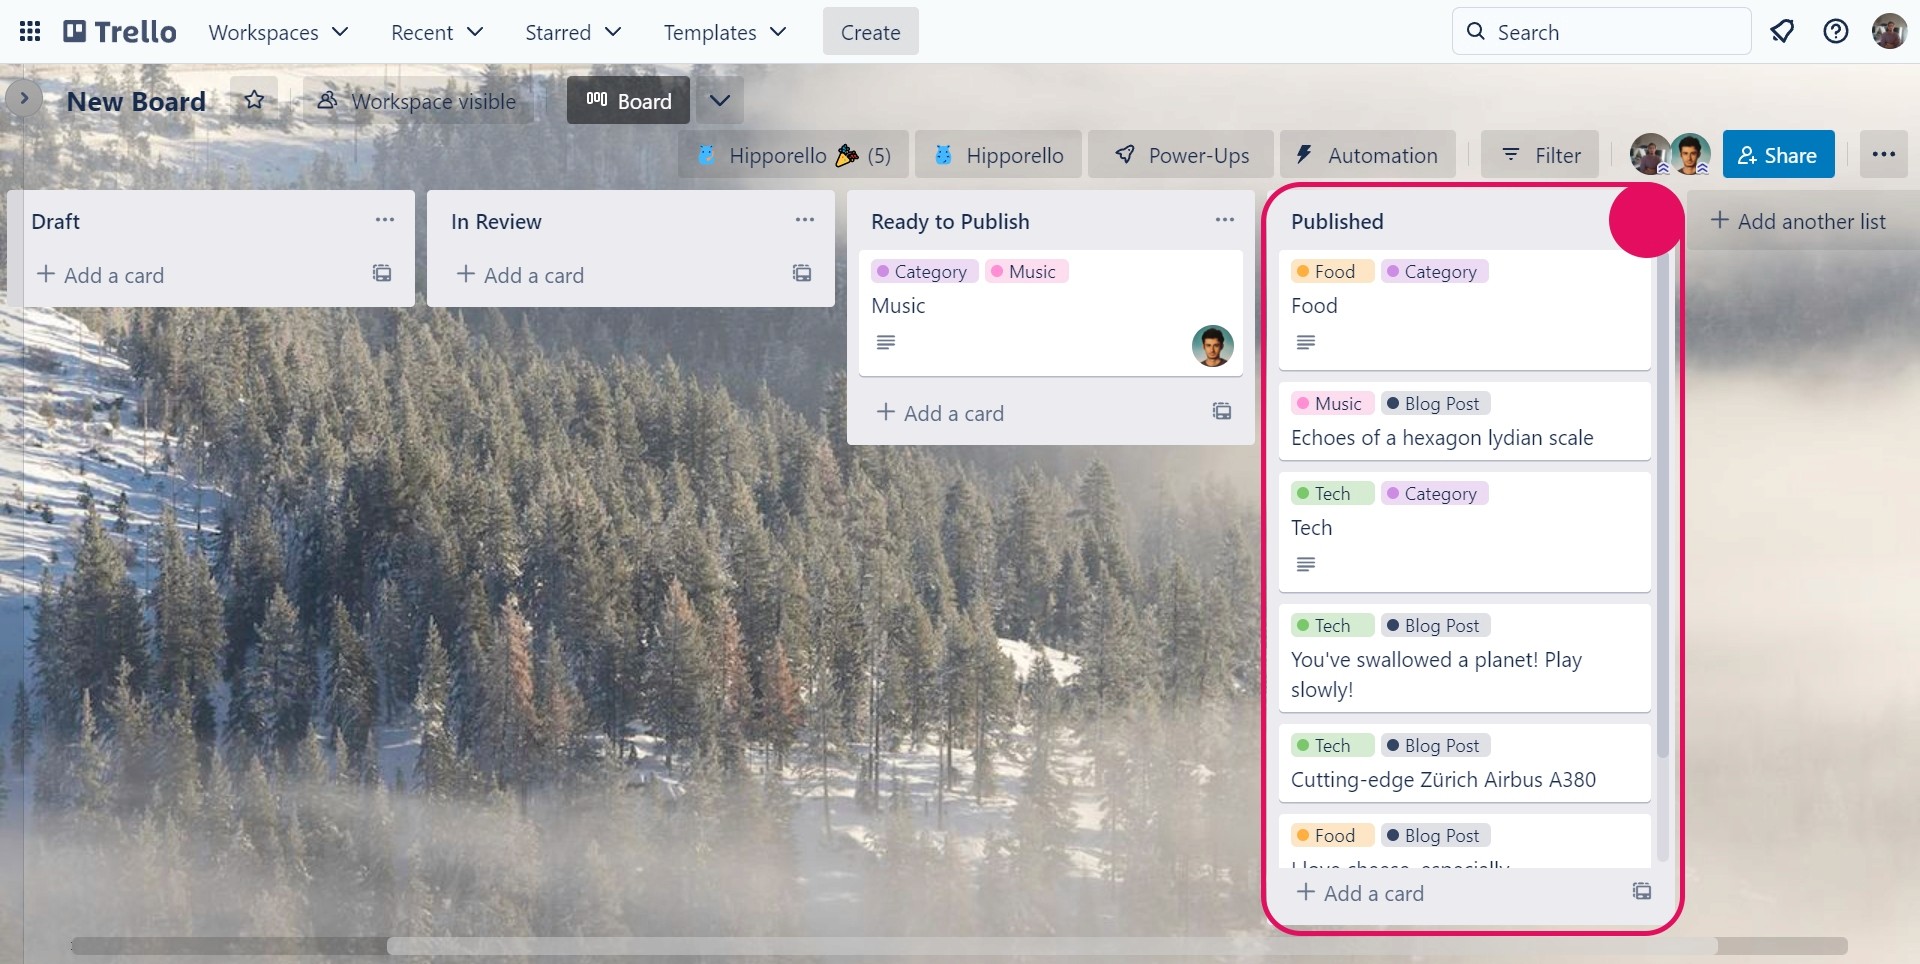
Trello Labels are customizable tags attached to a card that helps users quickly identify tasks belonging to specific categories or topics. Labels appear as colored squares at the bottom of each card, which can be used for sorting cards into categories such as priority level, status updates, or any other tag needed by the team members to identify the type of task quickly.
Trello Checklists are sets of tasks within each card that depend on other tasks in the list. Checklists contain steps and items with corresponding checkboxes that need marking off once completed by team members working on those particular items on that card’s checklist before moving it onto another list (step) in the workflow process towards completion.
Trello Users are individuals who have registered accounts with Trello. Users can be invited into Trello Workspaces created by admins by invitation only and can access public boards and other boards they’ve been granted permission to view.
Trello Power-Ups are plugins or apps that give users additional features they can’t find natively in Trello.
How to Start Using Trello:
Trello is designed to be easy to learn for new users from their first login, even if they’ve never used a project management app before. The interface is intuitive and straightforward, with no extra software to manage.
Here are specific directions for using and customizing Trello for project management:
Create a Trello account: To start a Trello account, go to trello.com and click "sign up." Enter your name and email address, and create a password. Then click "Sign up."
Invite Team Members to Trello Workspace: To add users to your Trello Workspace, go to the Board Menu and select "Invite People." Enter the email addresses of the people you invite, separated by commas. Add a message letting them know why they're invited. Once you're done, click "Send Invites".
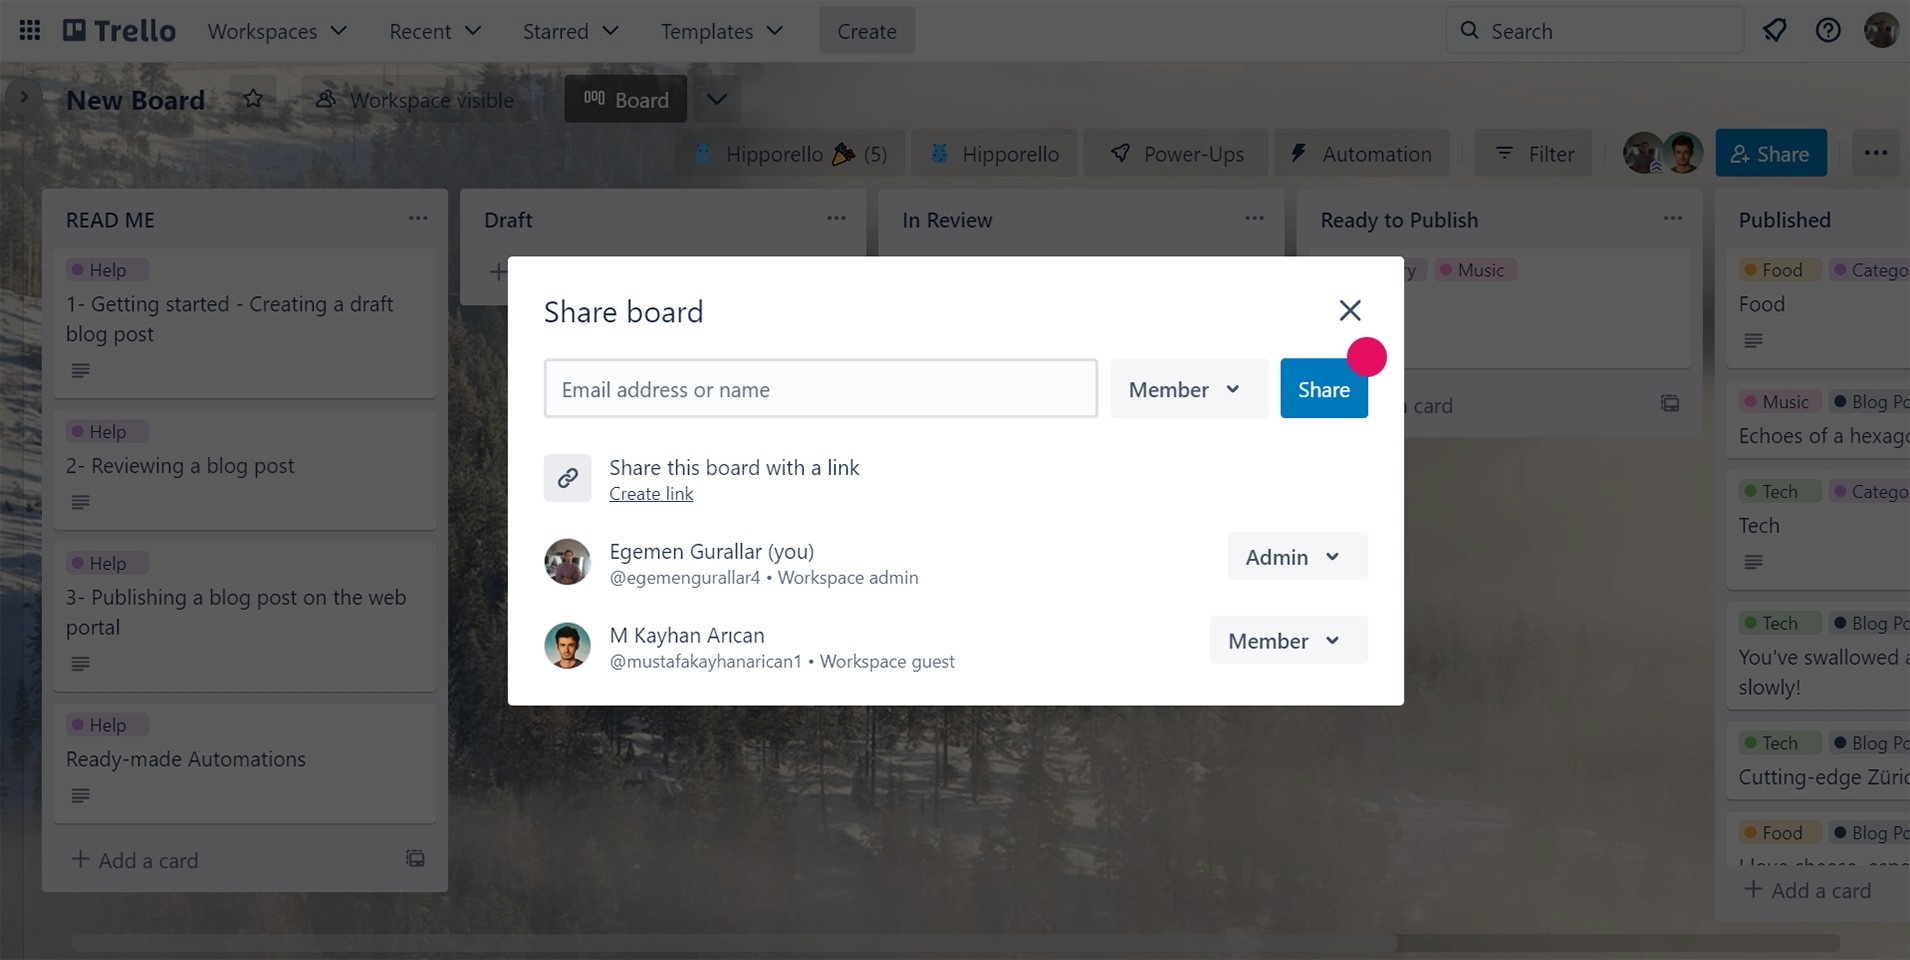
Add Members to Trello Board: Go to the board and click Share. Enter the email address of the person you wish to collaborate with and start your project. The person will receive an email with the information and link to your Trello board.
Add power-ups: Navigate to your Trello board and click on the "Power-Ups" button on the top right corner of the screen. Select the Power-Up you want from the ensuing menu.
Start your first project: You need to create a board devoted to one project, or multiple boards for different parts of the project, lists for each board, and then cards as the smaller tasks.
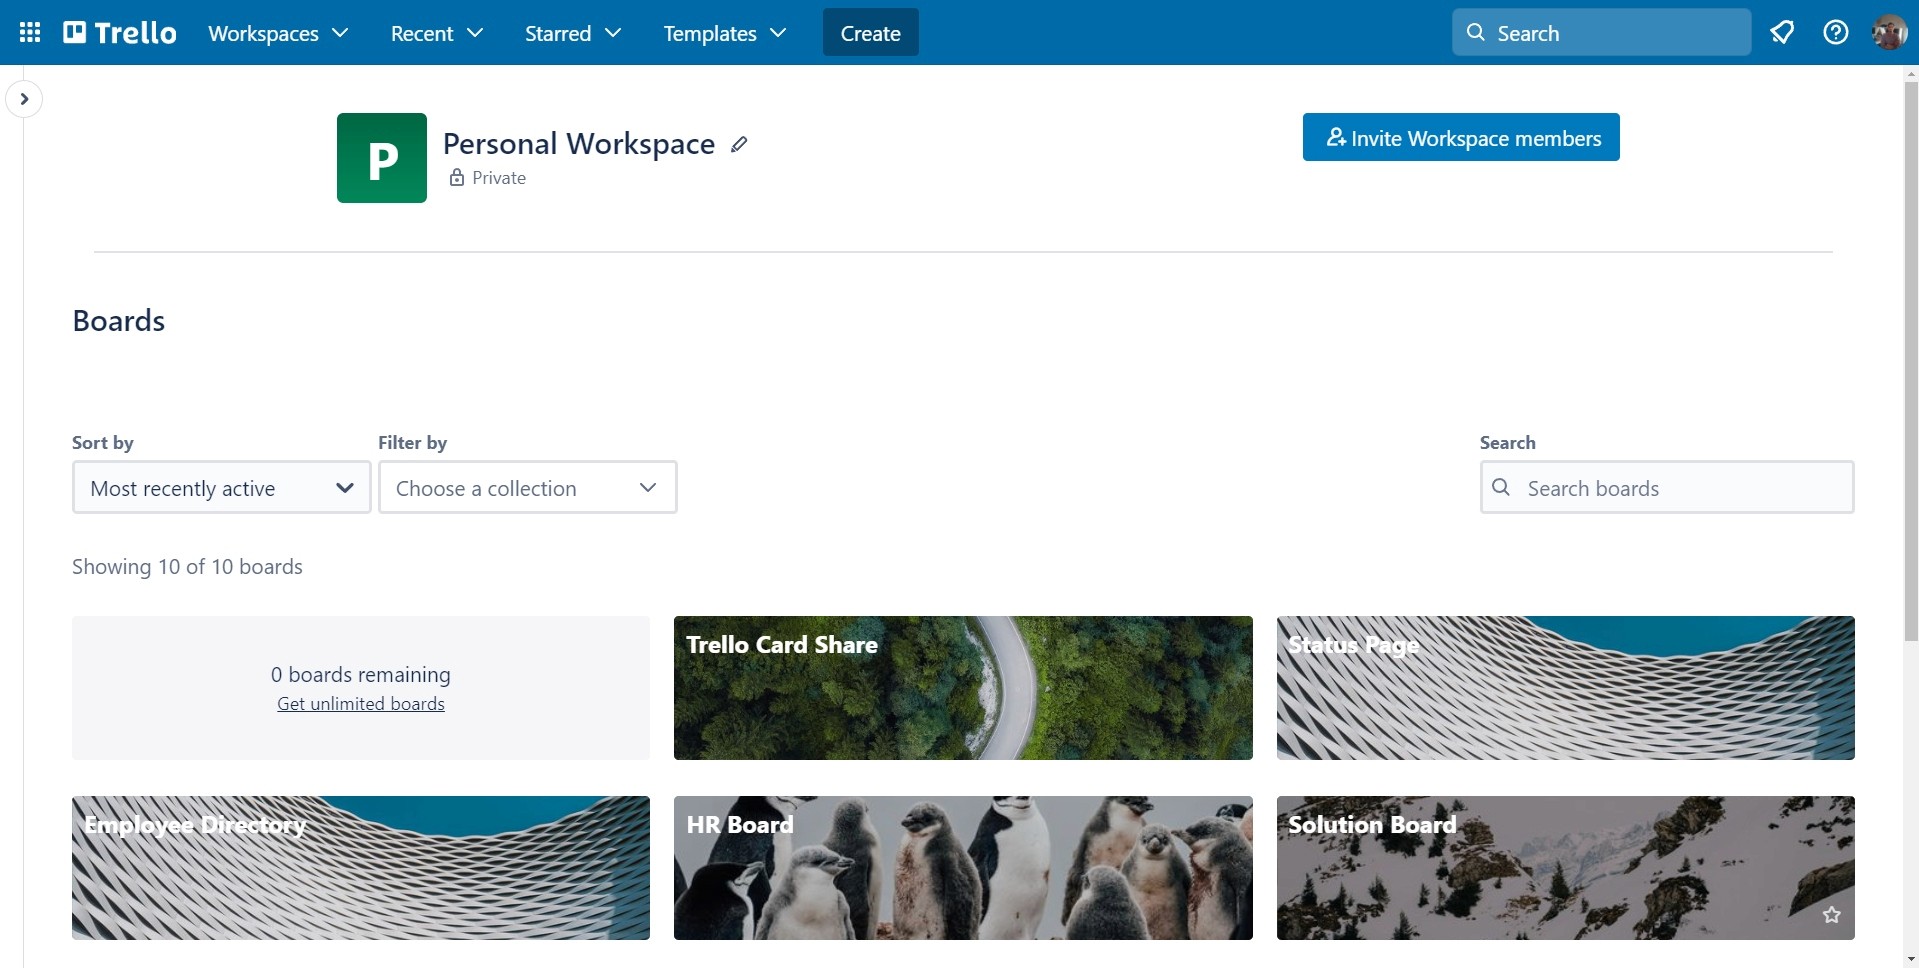
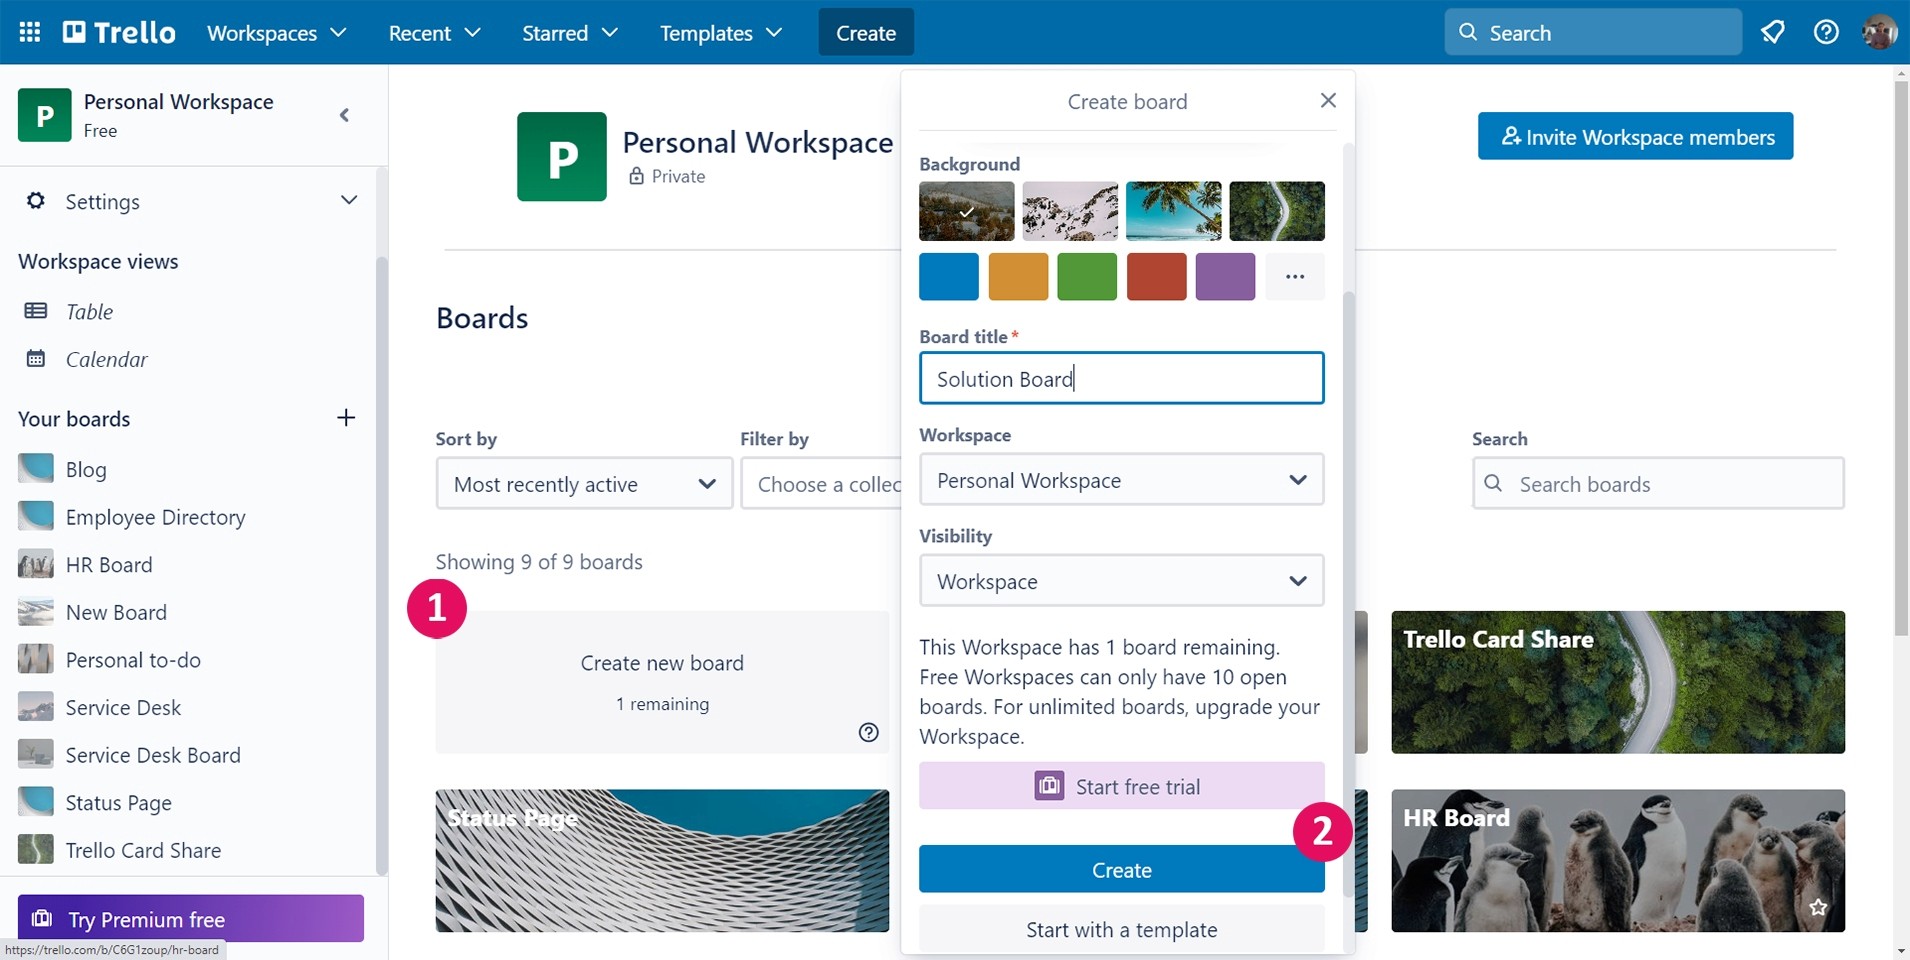
Create a board: Click "Create" on the top center of the screen and select “Create board." Give your board a name and click "create."
Create a list: Click on the board on which you want to add a list, click the "+" icon in the top right corner of the screen and select "add list." Give your list a name and click "add."
Create cards: Click on the list you want to add the card to, click the "+" icon in the top right corner of the screen, and select "add card." Enter the title of your card and click "add."
After you create Trello cards, to start making the most out of them, you need to assign members, due dates, or add labels as the basics:
To assign cards, click on the card you want to assign, then click the "edit" button in the top right corner of the screen. Under "members," type in the name of the person you want to assign the card and click "save."
To add labels, click on the card you want to label, then click on the "labels" button in the bottom left corner of the screen. Select which label you want to add from the drop-down menu and click "save."
To set a due date on a Trello card, click on the card to open it. Then click "Edit" in the top right corner. In the "Due Date" section, click on the calendar icon and select a date. Once done, click "Save."
Following the steps above, you’ll have made a good start to Trello. And for more advanced uses, we strongly suggest you discover the many Trello power-ups available and see how they might boost your process or save you time and money.
How to Use Different Trello Views:
Trello offers different views to bring perspective to the projects. As the requirements of the projects may vary, there is a need for checking the work by highlighting the information from another angle.
Board view is the default view with Kanban style of working. It allows you to see how your project is progressing; you can drag and drop cards from one list to another. It helps you see the progression with an effective pipeline that is simple for your team to utilize.
Table view can be used to provide a more comprehensive view of all the work occurring across your lists on a single board. Table view allows teams to collaborate, align, and deliver work by displaying cards or tasks in a compact, manageable table format alongside critical information such as lists, labels, members, and due dates.
Calendar view allows you to view your project within a calendar. Give your projects a time dimension by tracking team progress and staying on top of your work. A calendar allows you to anticipate potential roadblocks, events, or deadlines, allowing your team to proceed smoothly to the finish line.
Dashboard view allows you to create the charts that your team requires to identify any roadblocks or highlight any wins that will help your project succeed. To keep stakeholders aligned and confidence high, visualize key metrics such as due dates, assigned cards, and cards per list.
How to Use Power-Ups on Trello:
Trello is great, but additional Power-Ups can transform the app into a fully-functioning project management system. With Power-Ups, users can customize their boards by adding third-party apps, automation tools, and other integrations to streamline their workflow. Power-Ups include a card repeater, approvals, calendar view, a fully-functional recruitment tool, due dates and reminders, voting, Google Drive integration, project tracking, and many more. With these tools, teams can easily manage tasks without leaving Trello.
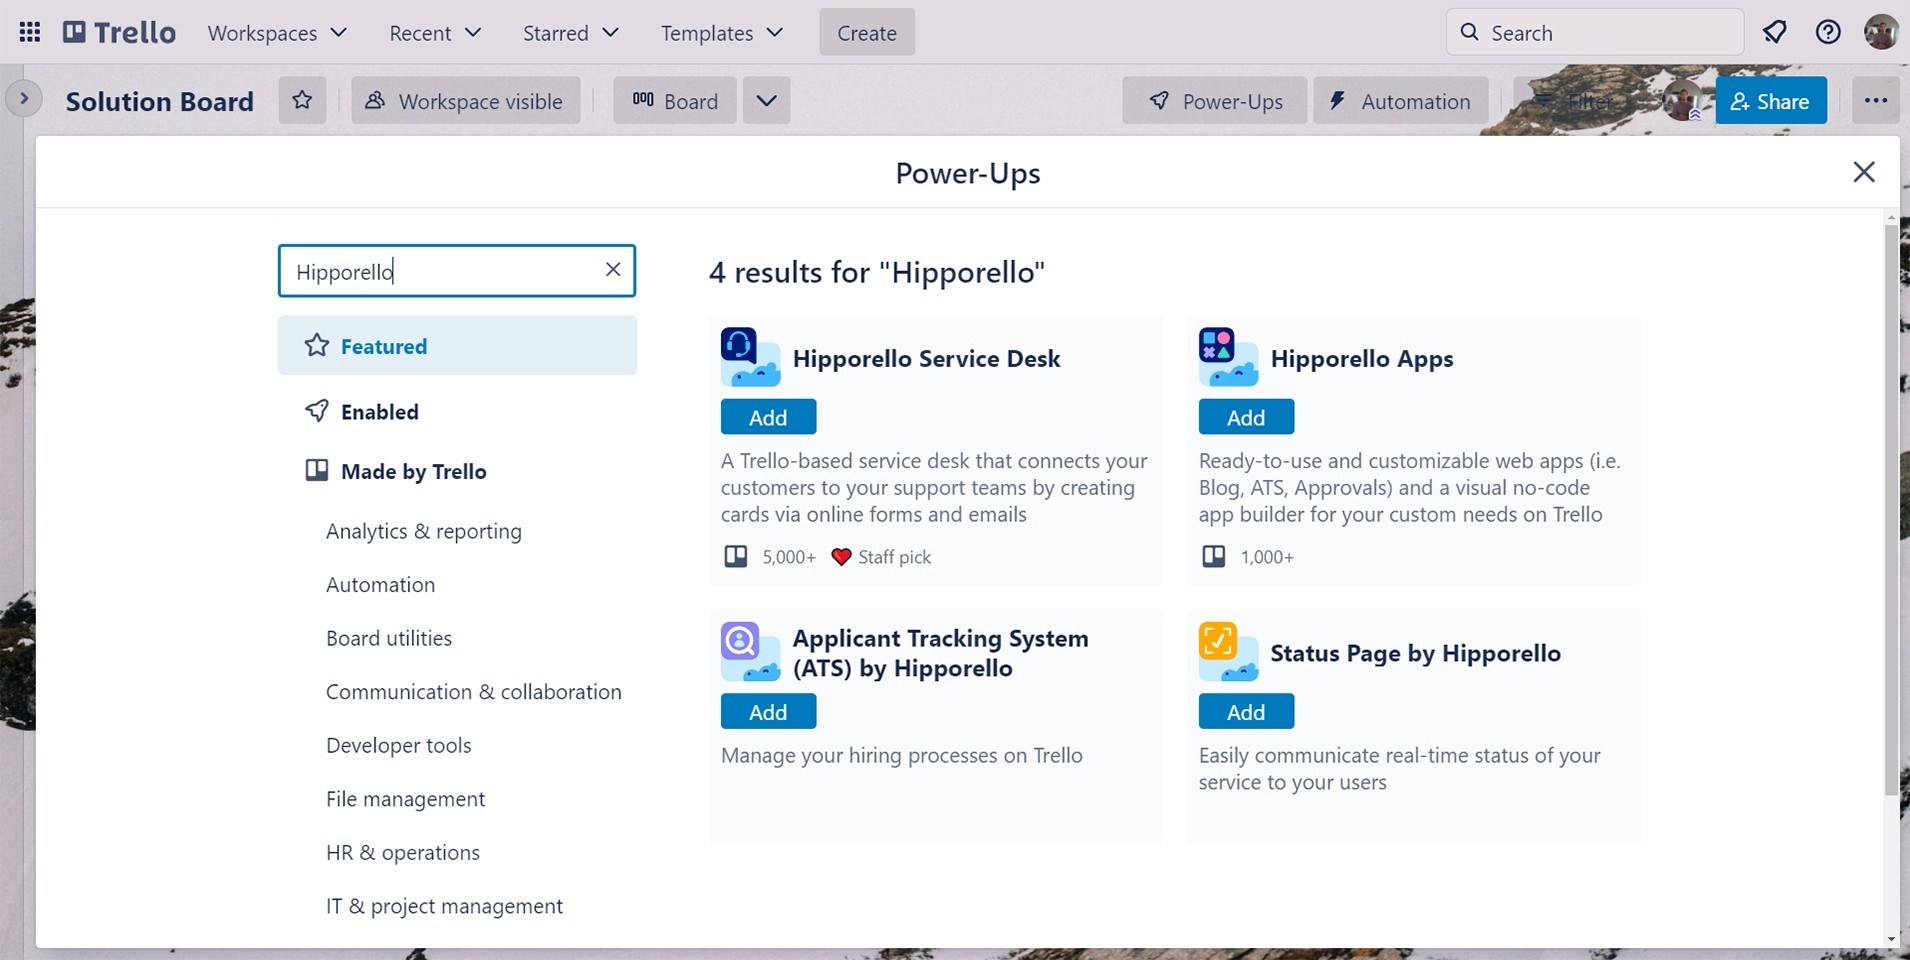
The Trello Power-ups built by Hipporello include Employee Directory, Blogging, Approvals and Service Desk Power-ups, which add a client portal and other functionality beyond basic task management.
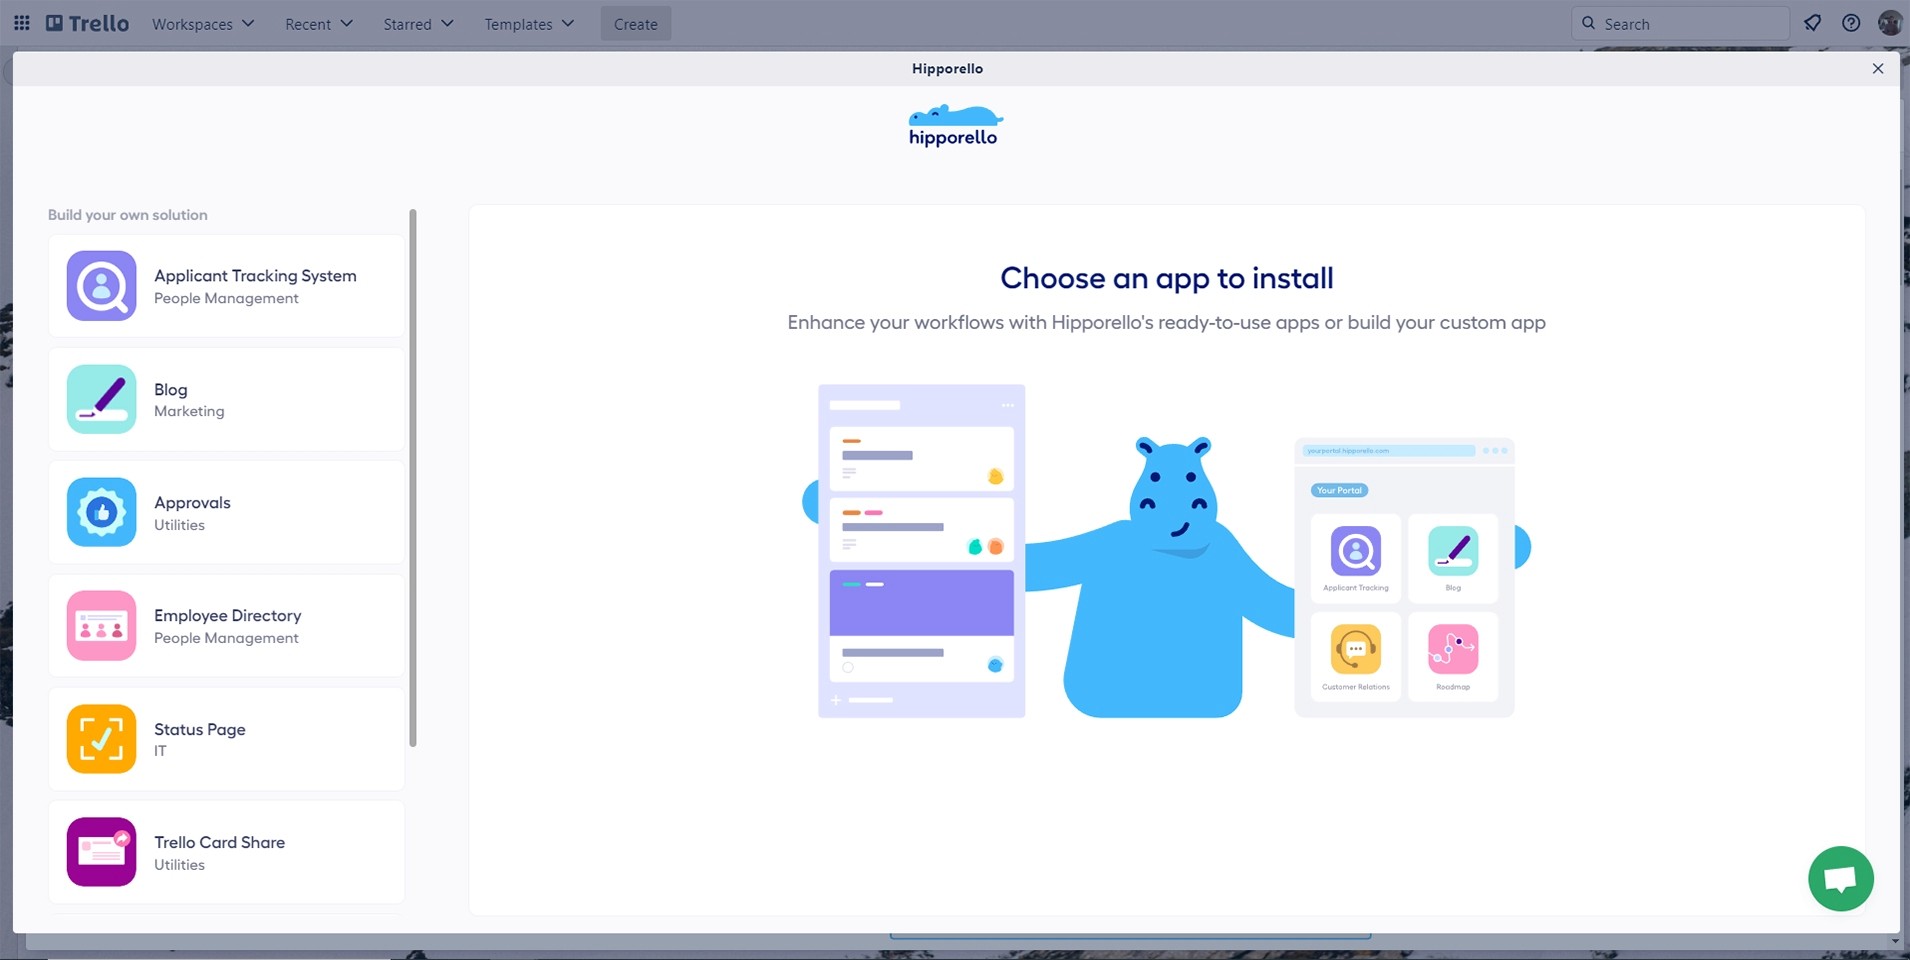
Instead of managing business processes in several separate apps, Hipporello's Power-ups for Trello bring multiple solutions from approvals and recruitment to knowledge base together in a Trello Workspace.
With its easy-to-use interface, and powerful features like labels, checklists & power-ups, Trello will help take your projects and teams' productivity levels up a notch! Whether it’s personal task management or professional project organization – give it a try today!
Table of Contents